Surprising fact: nearly one in four people report trying an intensive skin treatment without professional guidance—yet stronger formulations can change the skin layer in minutes.
The question matters because peels and acids like glycolic acid, lactic acid, and salicylic acid vary in strength and effect. Many people seek this treatment to address acne, hyperpigmentation, fine lines, and wrinkles on the face.
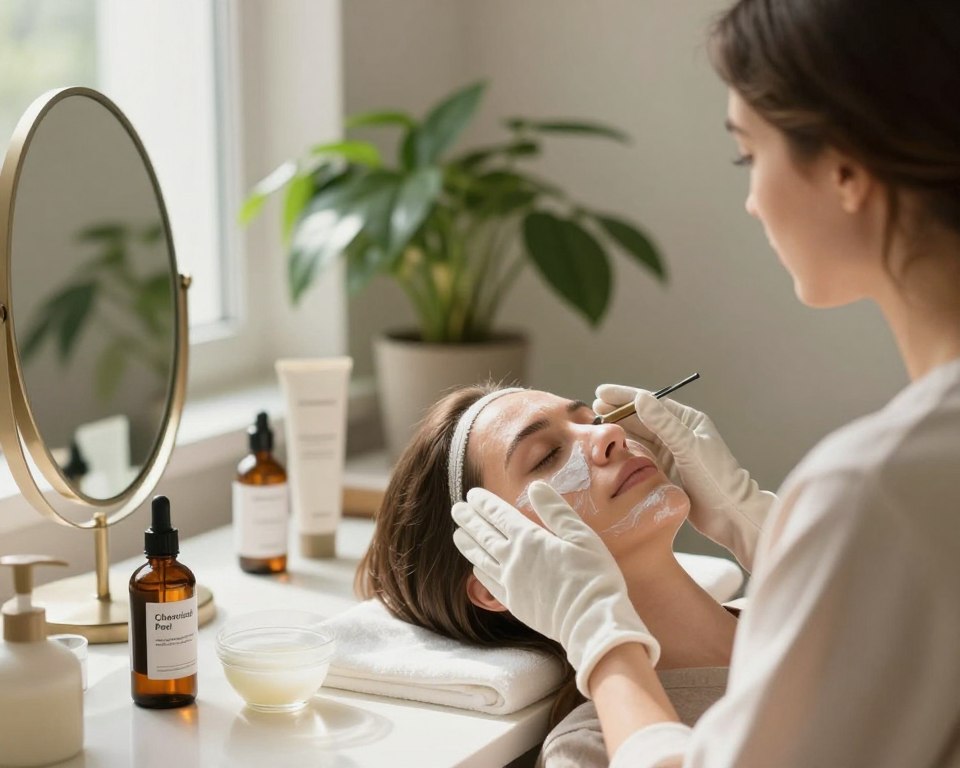
Safeortoxic.com provides educational content and notes that some images may be AI-generated to aid understanding. These visuals are not a substitute for a dermatologist evaluation.
Quick reality: over-the-counter products differ from professional peels in strength and ingredients. Before trying a do-it-yourself option, make sure you know the type, strength, and how acids interact with skin cells.
Key Takeaways
- Professional peels use higher strength acids than most products.
- Understand ingredient strength—glycolic, lactic, and salicylic acid act differently.
- Consult a dermatologist to reduce risk of redness, burns, or lasting side effects.
- Images on educational sites may be enhanced and should not replace medical advice.
- Know sun sensitivity and aftercare to protect results and skin health.
Understanding the Science of Chemical Peels

Acid strength and solution pH determine how deeply an exfoliant works on the skin.
The active fraction of an acid depends on pH. At roughly pH 2.0, most of the acid is “free” and able to act on the outer layer of skin. If the pH rises, the active percentage drops and results are milder.
How pH Levels Affect Exfoliation
When a formula sits at pH 2.0 or below, the entire labeled percentage of acid penetrates and dissolves the bonds between dead skin cells. That mechanism speeds turnover and reveals smoother texture.
Benefits of Professional-Grade Ingredients
Professional treatments rely on alpha hydroxy acids (glycolic acid, lactic acid) and beta hydroxy acids (salicylic acid) to target fine lines, wrinkles, acne, and hyperpigmentation.
- Lower pH keeps acids active for consistent results.
- Professional peels offer deeper exfoliation than most over-the-counter products.
- Consult a dermatologist for personalized care and to limit risks to skin cells and the layer skin.
Is a Chemical Peel Safe at Home?

At-home use raises real risks because stronger formulations can damage the skin barrier in minutes.
Key caution: determining if a chemical peel is appropriate for personal use requires clear knowledge of the product and your skin sensitivity.
A board-certified dermatologist such as Dr. Mona Gohara stresses that some products are intended for clinical settings. Follow instructions exactly — timing and neutralization matter to avoid burns or uneven color on the face.
- Perform a patch test before full application.
- Recognize that professional-grade peels are often stronger than typical skin care products.
- If unsure about ingredients or strength, consult a dermatologist before proceeding.
| Concern | Why it matters | Action |
|---|---|---|
| Overexposure | Long contact causes deeper injury | Strict timing; use a timer |
| Allergic reaction | Ingredients can trigger severe response | Patch test 48 hours prior |
| Wrong strength | Leads to scarring or pigmentation | Choose product matched to skin type; consult pro |
Identifying the Right Peel for Your Skin Type
Choosing the correct formula starts with a clear read of your skin’s needs and sensitivity.
Superficial Peels for Beginners
Superficial peels—often called “lunchtime” treatments—offer mild exfoliation and minimal downtime.
They typically use mandelic, lactic, or salicylic acid. These work well for rough texture, minor dark spots, and light acne scarring.
Medium Strength Treatments
Medium options penetrate the middle layer of the skin to treat deeper acne scars, fine lines, and persistent hyperpigmentation.
Formulas often include high-percentage glycolic acid or TCA and should be performed by a trained clinician.
“Professional-strength treatments require expertise to avoid long-term damage.”
Ingredients to Avoid
Match ingredients to your skin type. Avoid overly concentrated products if you have sensitive or darker-toned skin.
- Do: select alpha hydroxy acids or beta hydroxy agents at appropriate strength for your concerns.
- Don’t: attempt deep peels yourself—consult a dermatologist for aggressive treatments.
Essential Equipment and Preparation
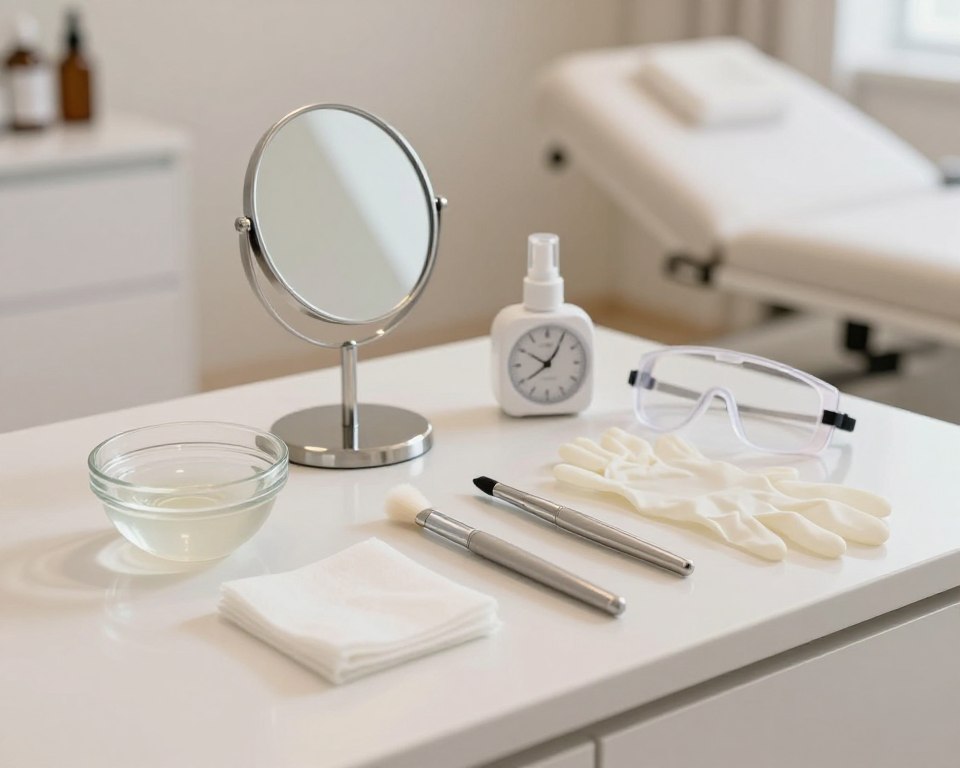
Gathering the right tools before you start reduces guesswork and lowers the chance of skin injury.
Prepare a clean, well-lit workspace and lay out all supplies before the procedure. This simple step helps control timing and limits interruptions.
Must-have items:
- Fan brush for smooth, even application—this improves control compared with fingers.
- Baking soda mixed with water to neutralize the acid quickly if needed.
- Vaseline to shield sensitive zones—the eyes, lips, and nostril edges—during the peel.
- Gloves, a small container for dilution, and a timer to track exposure.
Make sure to read the product label and confirm the listed ingredients and timing instructions. A board-certified dermatologist recommends having neutralizer and water within easy reach before you begin.
Final tip: assemble everything first, then proceed. Organized prep lowers the chance of a mishap and supports better results for your skin care routine and future peels.
Step by Step Application Process
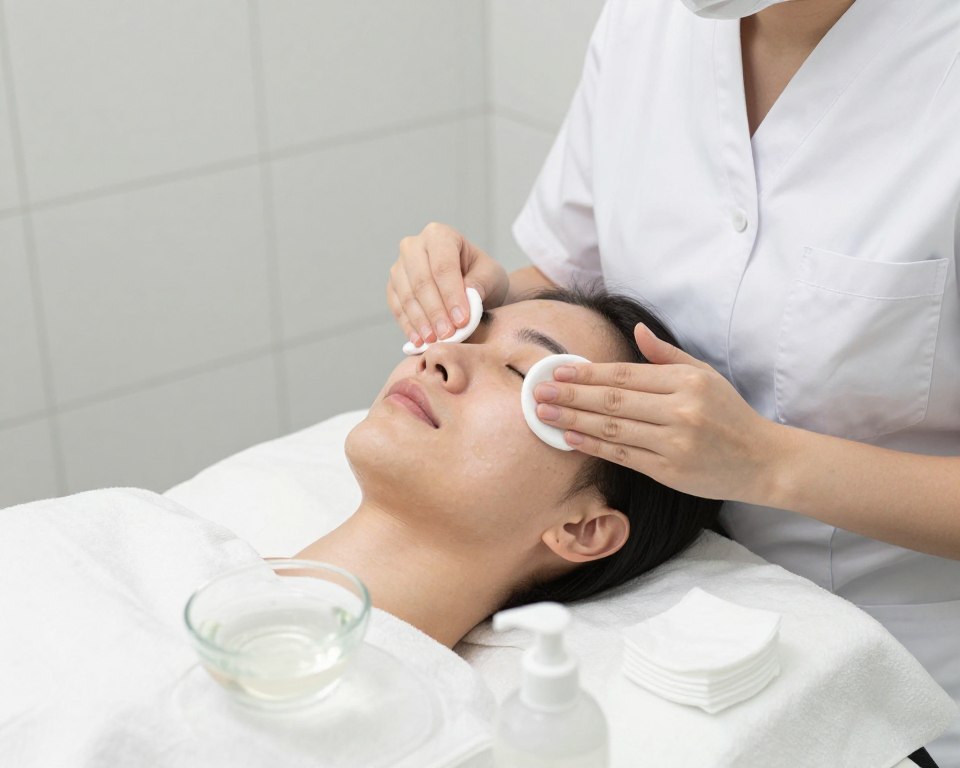
Begin the application slowly—timing and control determine whether the treatment helps or harms your skin.
Follow a clear, ordered routine for the best results and to limit risk. Keep tools, neutralizer, and a timer within reach. Use a fan brush for even coverage and steady strokes.
The Importance of Patch Testing
Perform a patch test on the inner arm or wrist for 48 to 96 hours before treating the face. This checks for allergic or irritant reactions.
- Clean the test site and apply the product. Observe for redness, blistering, or intense stinging.
- Begin full-face application at 30 seconds for beginners. Increase by 30-second increments on later sessions as tolerated.
- Never exceed five minutes for a single at‑home session. If severe stinging or redness occurs, neutralize immediately.
- Neutralize promptly when the timer ends—do not wait. Rinse or use the product’s recommended neutralizer.
| Step | Why it matters | Action |
|---|---|---|
| Patch test | Detects reactions before the face is treated | Test 48–96 hours on inner arm |
| Timed application | Limits depth of penetration | Start 30s; add 30s increments; max 5min |
| Neutralization | Stops acid activity to avoid damage | Neutralize immediately when time ends |
If in doubt, consult a dermatologist. For evidence on controlled protocols and outcomes, review a controlled clinical review: controlled clinical review.
Managing Potential Side Effects
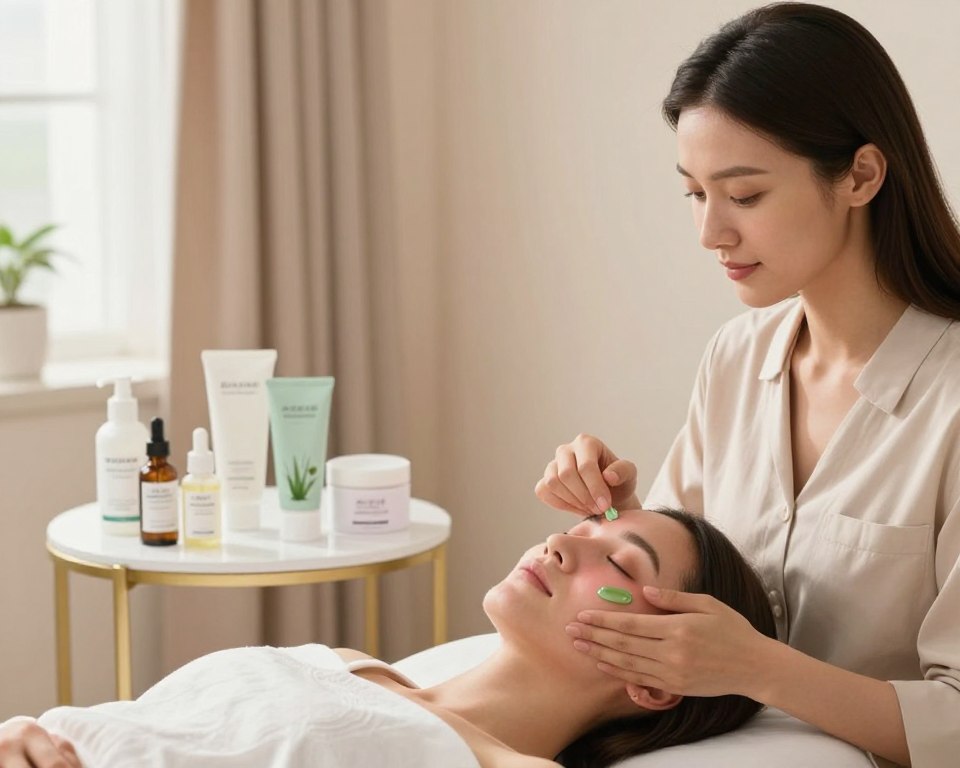
Minor redness and flaking are common after stronger exfoliation. Expect some tightness and visible peeling for several days.
When to monitor closely: if pain, spreading redness, fever, or pus appear, seek care immediately. A dermatologist like Dr. Ruth McTighe notes that mild irritation is normal but severe reactions need prompt attention.
Rare complications include infection, scarring, and lasting discoloration. Phenol-based treatments can cause systemic harm and should never be attempted outside a clinical setting.
- Protect newly exposed skin from sun—UV exposure raises risk of dark spots.
- Stop use of irritating ingredients if prolonged redness or uneven tone occurs.
- Keep the area clean, use gentle moisturizers, and avoid picking flaky skin.
For evidence on controlled protocols and outcomes, consult a clinical review. Prioritize conservative strength and professional advice to reduce the chance of long-term side effects.
Post-Peel Care and Recovery
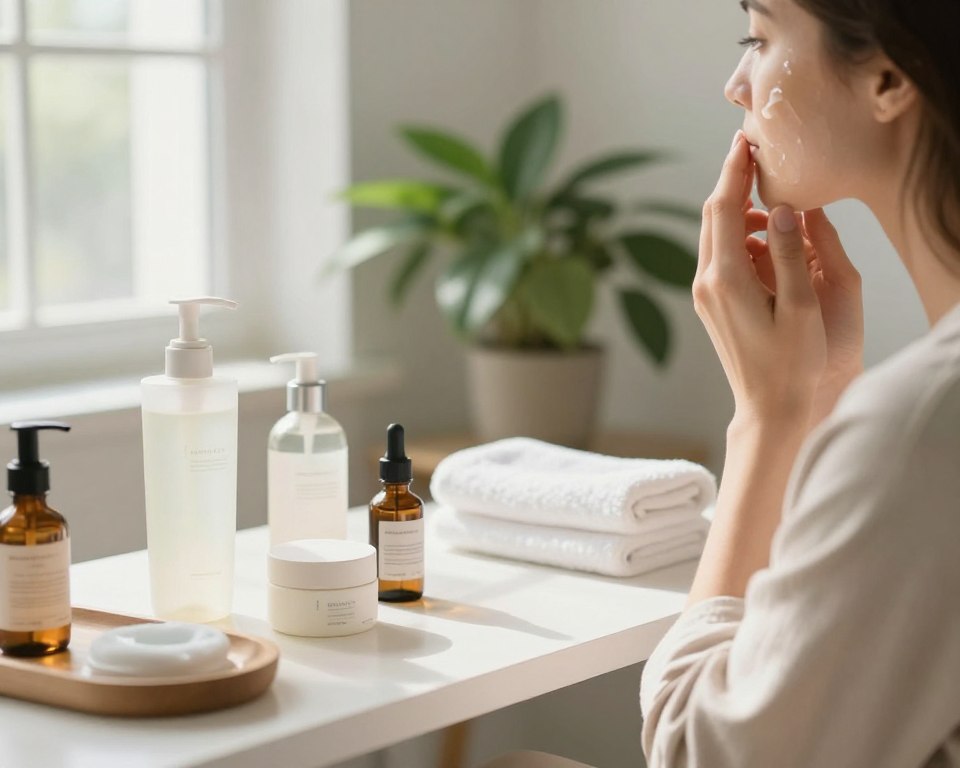
Recovery starts the moment you remove the formula; how you care for the skin then shapes outcomes. Proper post-treatment care reduces redness, speeds repair, and protects results for longer.
Hydration and Barrier Repair
Begin with gentle hydration. Use products with hyaluronic acid and ceramides to rebuild the barrier and lock in moisture.
Do not use other active acids or tretinoin for at least 24 hours—this lowers irritation risk and keeps new skin cells intact.
Apply a thin layer of petroleum jelly to areas that feel tight or cracked; it reduces transepidermal water loss and helps healing without clogging pores.
Sun Protection Protocols
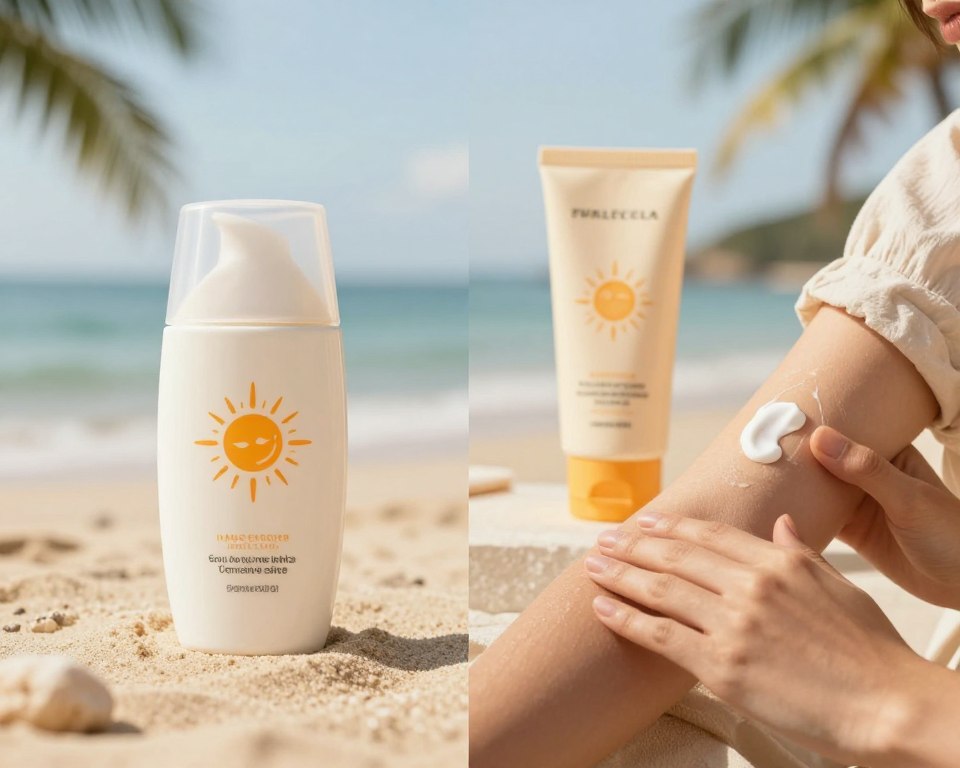
The treated layer is highly photosensitive. Make sure to use broad-spectrum sunscreen daily and avoid direct sun for several weeks.
Reapply sunscreen every two hours when outdoors and wear a wide-brim hat for added protection to the face.
- Follow gentle care: mild cleanser, fragrance-free moisturizer, and short contact with water on day one.
- Watch for warning signs: persistent pain, spreading redness, or pus—consult a dermatologist promptly.
- For full aftercare tips, see the aftercare guide.
Conclusion
Long-term skin health depends more on cautious consistency than one intense session.
Performing a chemical peels procedure can improve skin when users follow clear guidance, proper timing, and gentle aftercare. Always consult a dermatologist to confirm which option matches your skin type and concerns.
Avoid overusing strong acid formulations. Patience and routine skin care—hydration, barrier support, and strict sun protection—preserve results and lower complication risk.
For evidence-based protocols and risks tied to varying depths of peels, review the clinical overview on professional treatments: chemical peels review.
FAQ
Is a chemical peel safe to do at home?
Many low‑strength exfoliating treatments can be used by consumers, but risks remain. Look for products with clear pH and concentration labeling—common ingredients include alpha hydroxy acids (glycolic, lactic) and beta hydroxy acid (salicylic). Use only formulas intended for self‑use, follow manufacturer instructions, perform a patch test, and avoid overlapping strong treatments. People with active acne cysts, eczema, rosacea, or recent isotretinoin use should consult a board‑certified dermatologist before attempting any procedure.
How do pH levels affect exfoliation effectiveness?
Acidity determines how aggressively hydroxy acids remove the outer skin layer. Lower pH increases activity and penetration; that speeds results but raises irritation risk. Over‑the‑counter products are formulated to balance efficacy and tolerance. Professionals use controlled pH and neutralization to get stronger results safely—do not lower pH or mix acids at home to intensify effects.
What are the benefits of professional‑grade ingredients versus consumer products?
Clinical treatments often use higher acid concentrations, precisely controlled pH, and trained application to target deeper layers with predictable downtime and outcomes for wrinkles, hyperpigmentation, and scarring. Consumer products prioritize safety and gradual improvement with minimal recovery time. For faster, more dramatic results, seek treatment from a licensed dermatologist or aesthetician.
How do I identify the right treatment for my skin type?
Match intensity to skin sensitivity and concerns. Superficial alpha hydroxy formulas suit most skin types for texture and mild hyperpigmentation. Oil‑soluble salicylic acid helps oily, acne‑prone skin. Medium‑strength agents address deeper discoloration and fine lines but need professional assessment—darker skin tones require tailored protocols to reduce post‑inflammatory hyperpigmentation risk.
What are superficial treatments appropriate for beginners?
Low‑strength glycolic (typically ≤10–15%), lactic (5–10%), and salicylic (0.5–2%) formulations are common starter options. They exfoliate surface cells with minimal peeling and downtime. Start with short contact times, follow directions, and space sessions several weeks apart to monitor tolerance and avoid overuse.
When should someone seek medium‑strength treatments from a pro?
Choose a professional procedure if you want to treat deeper wrinkles, persistent hyperpigmentation, or acne scarring. Medium treatments use higher concentrations and require skin assessment, precise timing, and neutralization or post‑care protocols to minimize complications. A clinician can tailor preconditioning, device combination, and aftercare for safer, better outcomes.
Which ingredients should be avoided in do‑it‑yourself routines?
Avoid high‑concentration acids, mixtures of multiple strong actives, and unregulated acid blends from unverified sellers. Steer clear of trichloroacetic acid (TCA) or phenol unless administered by a trained provider. Also avoid concurrent use of retinoids, physical scrubs, or waxing immediately before or after an exfoliation to prevent excessive barrier damage.
What essential equipment and preparation steps are required?
Essentials include clean towels, mild cleanser, pH‑appropriate product, neutralizing solution if recommended, broad‑spectrum sunscreen, and a patch test kit (or cotton swabs). Prep involves stopping exfoliating acids or retinoids several days before, avoiding sun exposure, and discussing medications like isotretinoin with a clinician.
How important is patch testing and how should it be done?
Patch testing is critical. Apply a small amount to a discreet area (behind the ear or inner forearm) following product directions. Wait 24–48 hours to check for redness, blistering, or prolonged irritation. If adverse signs appear, do not use the product on the face and seek professional advice.
What side effects can occur and how are they managed?
Mild redness, stinging, and flaking are common and usually resolve with gentle care. More serious issues—prolonged redness, severe burning, infection, or new dark spots—require medical attention. Manage mild reactions with fragrance‑free moisturizers, cool compresses, and avoid further exfoliation until the barrier recovers.
What post‑treatment care speeds recovery and protects results?
Focus on barrier repair and UV protection. Use a gentle, hydrating cleanser; apply ceramide‑rich or petrolatum‑based moisturizers to seal and repair; and wear broad‑spectrum SPF 30 or higher daily. Avoid active ingredients (retinoids, strong acids, benzoyl peroxide) until the skin fully heals—typically several days to a week for superficial treatments.
How should hydration and barrier repair be addressed after treatment?
Prioritize humectants (hyaluronic acid), emollients (fatty acids), and occlusives (petrolatum) in layers to restore moisture. Short, cool showers and avoiding hot environments help. If persistent tightness or peeling occurs, consult a dermatologist for targeted recommendations.
What sun protection protocols are required post‑procedure?
Apply a broad‑spectrum sunscreen SPF 30+ every morning and reapply often during sun exposure. Wear a wide‑brimmed hat and avoid direct sun for at least a week after most treatments. UV protection reduces risk of pigmentation changes and improves long‑term outcomes.