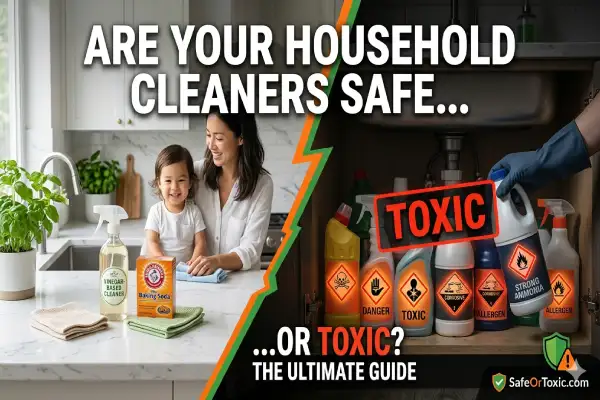
Did you know a single kitchen counter can have millions of microbes? This includes harmful bacteria, viruses, fungi, and protozoa. Many think a quick wipe is enough to keep their homes safe. But, proper hygiene protocols need more care than most think.
It’s key to understand cleaning agent chemistry to protect your family. Some products dry off cleanly, but others leave harmful residues. Effective germ removal depends on the right technique, not just the product.
We’ll dive into keeping your home healthy. By learning about these cleaners, you can make sure your home is really clean, not just looks it.
Key Takeaways
- Microbes like bacteria and fungi can stay even after a quick wipe.
- Chemical residue from cleaners can be risky on food areas.
- Always follow the label for water contact instructions.
- Proper dwell time is as crucial as rinsing.
- Safe home hygiene balances chemical power with physical removal.
Understanding the Chemistry of Disinfectant Sprays
The power of a disinfectant spray comes from complex chemical reactions. These reactions target harmful pathogens. When you use these products, you start a precise process to neutralize threats.
Knowing this science helps you choose better for your home.
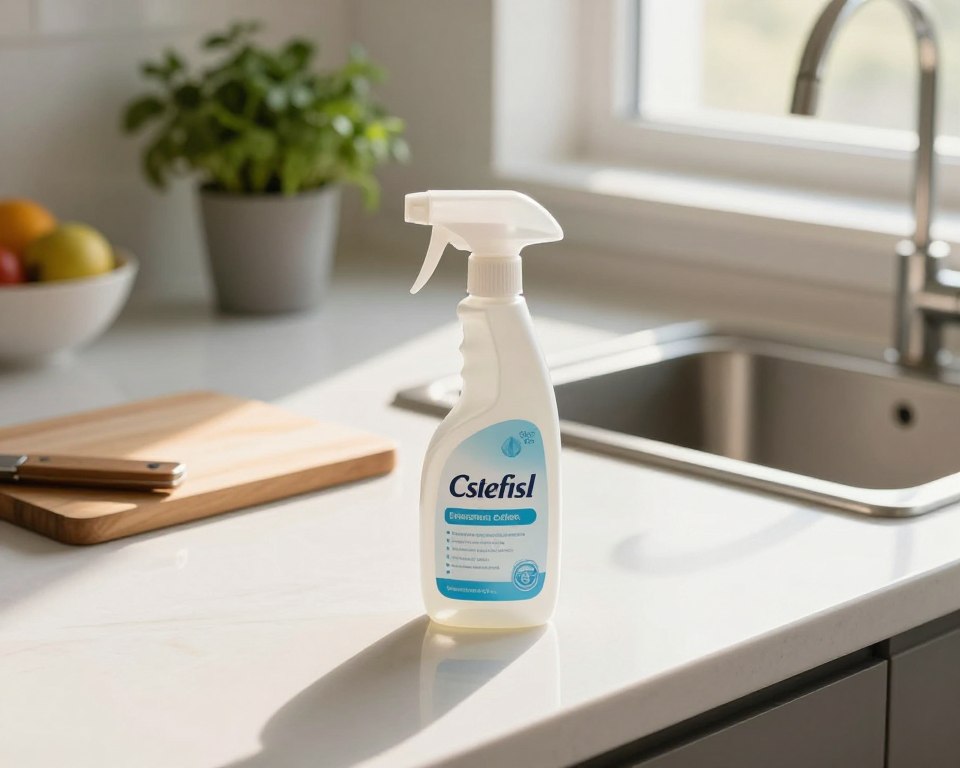
Active Ingredients and Their Functions
Modern cleaners use active ingredients like quaternary ammonium compounds or hydrogen peroxide. These substances break the protective membranes of bacteria and viruses. Once broken, the pathogen can’t replicate.
Choosing the right disinfectant spray is key. It ensures the chemicals work. Without enough contact, the reaction fails, leaving germs behind. Always check the label to see what pathogens it kills.
How Disinfectants Interact with Different Materials
Chemicals react differently on every surface in your home. For example, nonporous materials like stainless steel or glass let the disinfectant spray sit until it evaporates. This allows the chemicals to work without harming the material.
On the other hand, porous surfaces like natural stone or unsealed wood can absorb chemicals. This may cause staining or damage over time. Using a disinfectant spray on these surfaces needs extra care to keep them intact.
The following table shows how common active ingredients keep your home clean.
| Active Ingredient | Primary Function | Best Surface Type |
|---|---|---|
| Quaternary Ammonium | Disrupts cell membranes | Hard, nonporous surfaces |
| Hydrogen Peroxide | Oxidizes organic matter | Glass and stainless steel |
| Alcohol (Ethanol) | Denatures viral proteins | Electronics and small tools |
| Phenolics | Inactivates enzymes | Floors and heavy-duty areas |
Understanding these chemical interactions shows why following instructions is crucial. Proper use of your disinfectant spray protects your family and your home’s surfaces. Always choose the right product for the material you’re cleaning.
Do You Need to Rinse Surfaces After Using Disinfectant Spray
Many people wonder if they should rinse surfaces after using disinfectant spray. This question comes from not understanding how these products work. Proper disinfection needs specific conditions to kill germs.
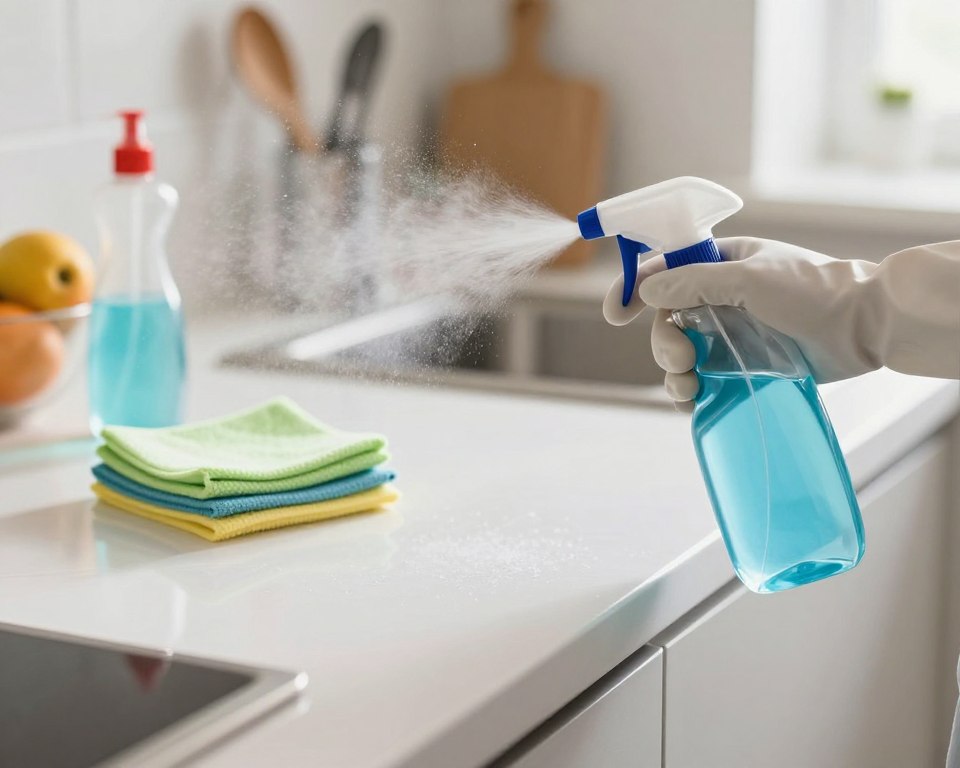
The Role of Dwell Time in Disinfection
Disinfectants have a dwell time that’s crucial. This is how long the surface must stay wet to kill germs. If you wipe it off too fast, the chemicals can’t do their job.
Check the back of your disinfectant bottle for the dwell time. It can range from thirty seconds to ten minutes. Keeping the surface wet is key for effective household disinfection.
When Rinsing Becomes Necessary for Safety
Some sprays evaporate quickly, but rinsing is essential for safety. This is true for surfaces that come into contact with food or sensitive skin. For example, cleaning a cutting board or a high chair requires a final rinse with potable water to avoid health risks.
| Surface Type | Rinse Required? | Reasoning |
|---|---|---|
| Food Preparation Areas | Yes | Prevents chemical ingestion |
| Children’s Toys | Yes | Protects against mouth contact |
| General Countertops | No | Residue is usually minimal |
| Pet Feeding Bowls | Yes | Avoids potential toxicity |
Identifying Surfaces That Require a Post-Disinfection Rinse
Keeping your home safe from chemical residue starts with knowing which areas need a rinse after disinfecting. Disinfecting kills germs, but harsh chemicals can be harmful if left on certain items. Making sure your cleaning routine is safe for everyone is key.
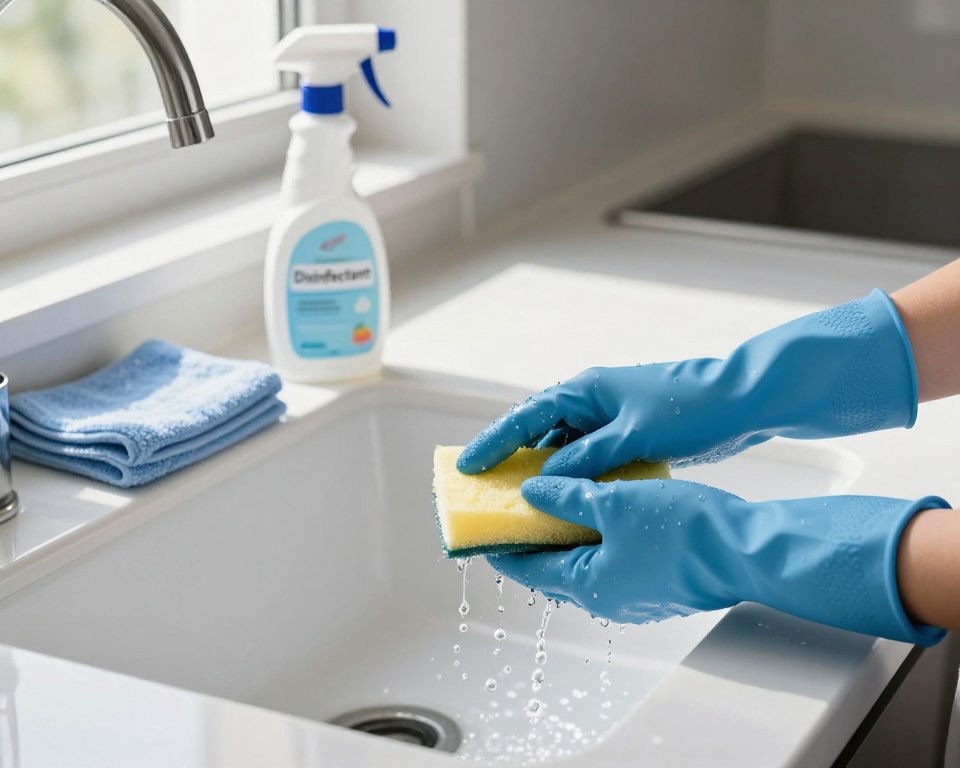
Understanding the difference between materials is crucial when deciding to rinse surfaces after cleaning. Some items can be wiped clean, while others need a deeper clean to remove all chemicals.
Food-Contact Surfaces and Kitchen Countertops
Kitchen countertops are where food prep happens most often. If you use a chemical disinfectant, make sure to rinse the counter well before using it for food. Always check the product label to see if a rinse with potable water is needed.
High-Chair Trays and Children’s Play Areas
Children often touch surfaces and put their hands in their mouths. This makes high-chair trays and play tables critical for surface safety. Always wipe these areas with a damp cloth after the recommended time to remove chemicals.
- Use clean, potable water for the final wipe-down.
- Ensure the surface is completely dry before your child uses it again.
- Avoid using heavy-duty industrial cleaners on items meant for infants.
Pet Feeding Stations and Bowls
Pets are just as vulnerable to chemicals as humans. Pet bowls and mats are often overlooked but need a rinse after disinfecting. Rinsing these areas properly prevents pets from ingesting harmful residues during meals.
The Risks of Leaving Disinfectant Residue
Effective household disinfection is more than just spraying and leaving. Many think letting a product dry is best, but it can cause disinfectant residue buildup. It’s crucial to know how these chemicals work to keep your home safe. Check out these essential tips for your disinfectant.
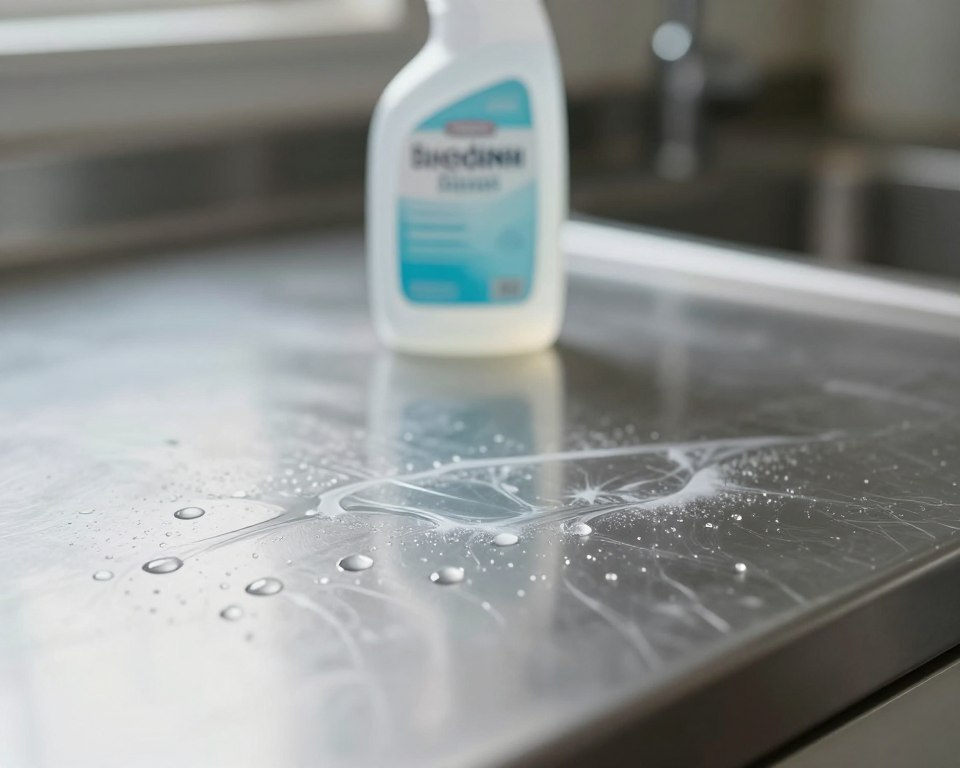
Potential Health Impacts on Humans
Chemical films on surfaces can cause health problems. Skin contact with strong residues can irritate or cause dermatitis. Breathing in dried chemicals can also make breathing hard, worse for kids or those with asthma.
Toxicity Concerns for Household Pets
Pets are at high risk because they touch and lick surfaces. They can ingest toxic substances from treated areas. Like how harmful chemicals on dishes are, not rinsing surfaces is dangerous for pets.
Long-term Effects on Surface Finishes
Chemicals left on surfaces can damage your home’s materials. Harsh ingredients can etch or discolor surfaces like stone or wood. This disinfectant residue can also remove sealants, making surfaces prone to stains and wear. Always choose the right cleaning method for your materials to protect them.
Analyzing Product Labels for Rinsing Instructions
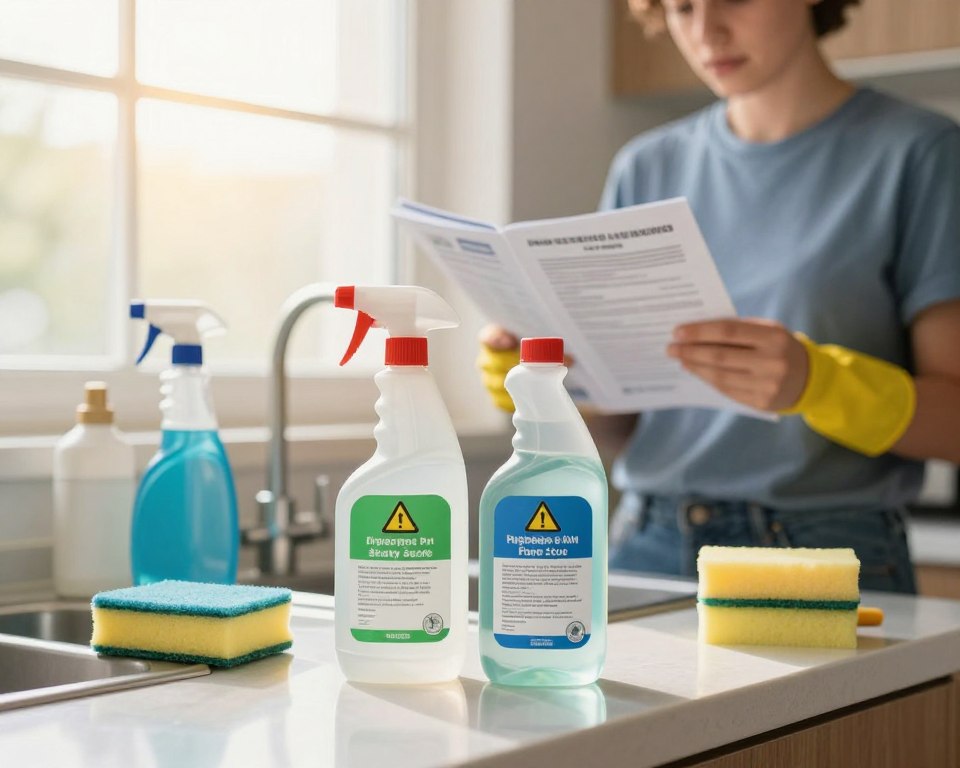
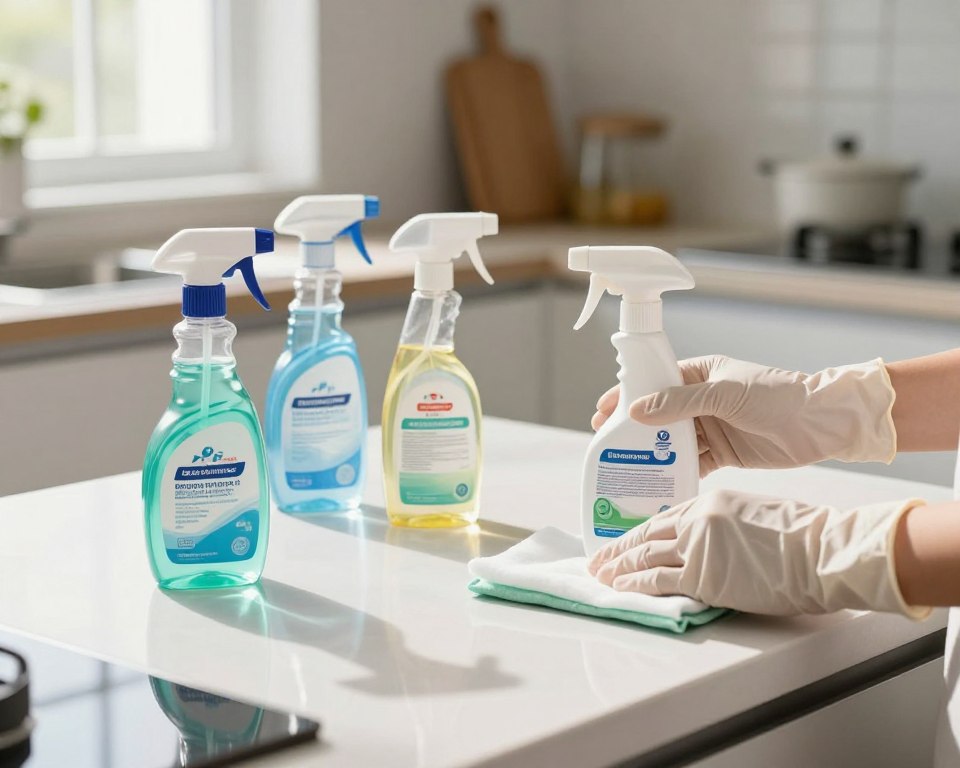
Before you spray, take a moment to look at the label. See if you need to rinse surfaces. Many people overlook the back of the bottle, but that’s where the most important safety information lives. Understanding these instructions is key for any homeowner who wants a healthy environment.
Decoding EPA-Registered Labeling
Every EPA-registered disinfectant has a unique registration number on its label. This number shows the product has been tested for safety and works well. When you look at the label, find the “Directions for Use” section. This tells you if you must rinse surfaces after a certain time.
Labels also list the active ingredients, like a quaternary ammonium disinfectant. Knowing these ingredients helps you understand how the product works. Always check if the manufacturer says you need to rinse with potable water to remove chemical residues.
Why Manufacturer Guidelines Override General Advice
General cleaning tips online often don’t fit specific chemical formulas. Manufacturer guidelines are made for the exact product. You should always follow these instructions to keep your home safe.
If a label says to rinse surfaces, don’t skip it. Following the manufacturer’s instructions protects your family from harmful chemicals. It also prevents damage to delicate materials that might not handle strong disinfectants well.
Understanding Signal Words Like Caution and Warning
Labels use specific words to show how toxic or hazardous a product is. Words like “Caution,” “Warning,” or “Danger” are immediate warnings. They tell you how careful you need to be when using the spray.
A product labeled with “Danger” usually needs extra safety steps, like a thorough rinse. By learning to read these labels, you can use your cleaning products with confidence and precision. Always check if you need to rinse surfaces to keep your space clean and safe.
Best Practices for Rinsing Surfaces Safely
Proper rinsing techniques keep your home safe after disinfecting. Removing disinfectant residue protects your family from harmful chemicals. Knowing the difference between cleaning, sanitizing, and disinfecting is key to a healthier home.
Choosing the Right Tools for Rinsing
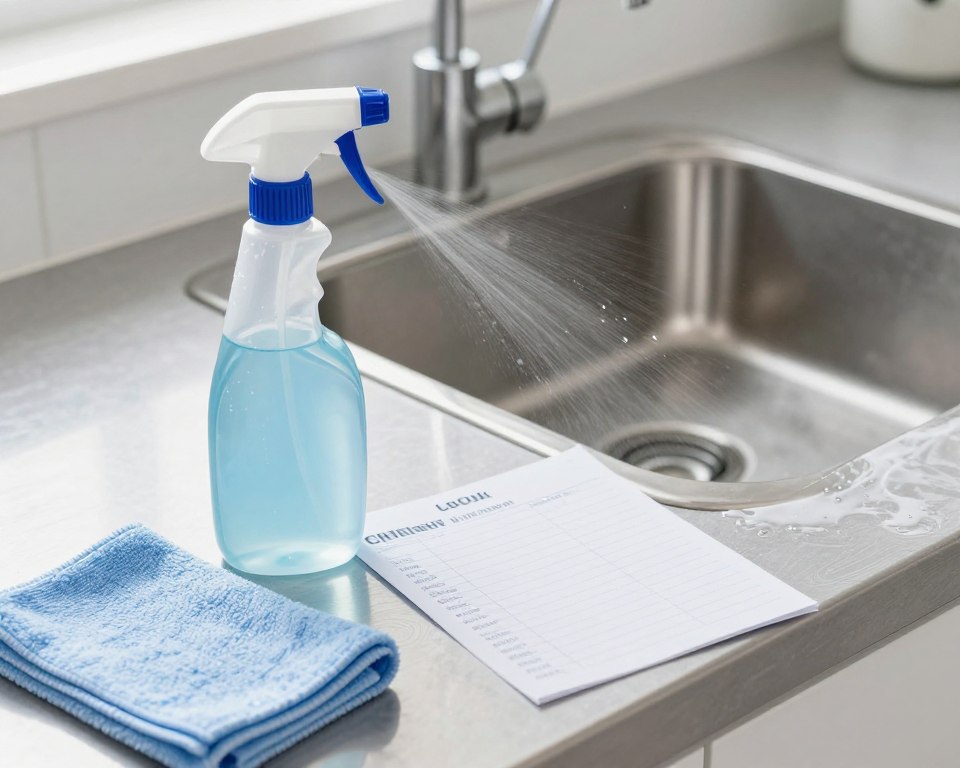
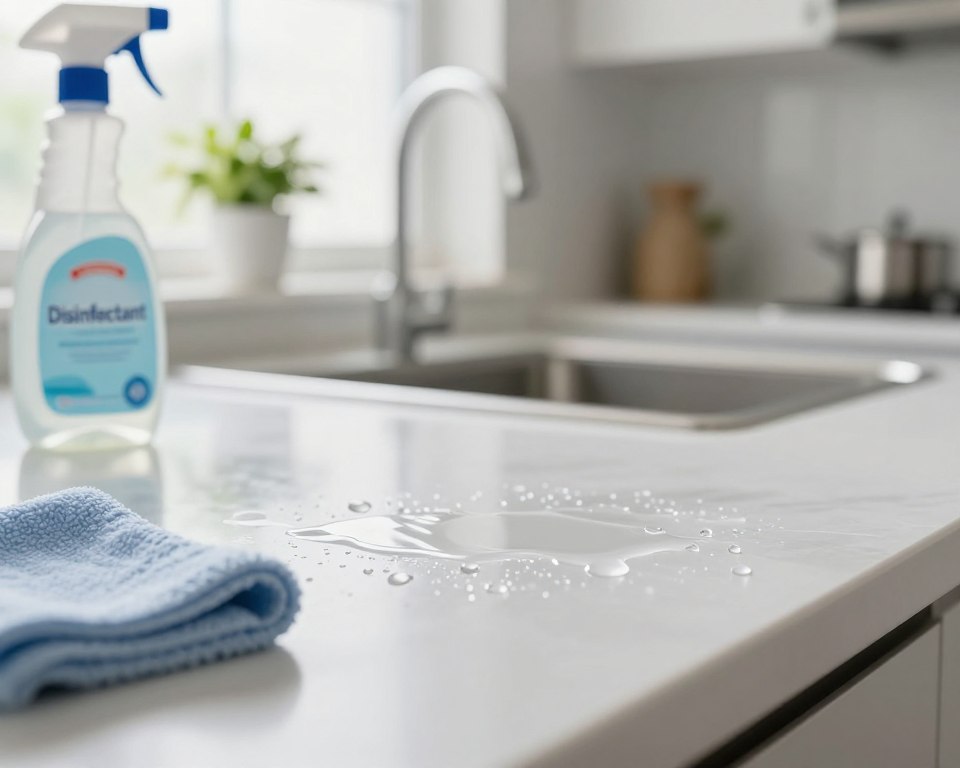
Use clean, dedicated tools for wiping down surfaces. Microfiber cloths are great because they pick up particles without leaving lint. Don’t use old rags that might carry bacteria from before.
The Importance of Using Potable Water
For food prep areas, use potable water for the final rinse. This keeps countertops free from harmful bacteria. Safe, drinkable water is essential to avoid undoing your cleaning work.
Drying Techniques to Prevent Recontamination
Letting surfaces air dry is the best way to stop germs from coming back. If you must dry a surface, use a fresh, sterile paper towel. By managing disinfectant residue carefully, you keep your home clean and safe for all.
Common Mistakes When Using Disinfectant Sprays
It’s surprising how often we mess up our disinfectant effectiveness while cleaning. Many think just misting a surface kills germs. But, it’s more complex than that. Staying away from common errors helps keep your home clean and safe.
Wiping Too Quickly and Reducing Efficacy
Wiping away a disinfectant spray too fast is a big mistake. Each product needs a certain “dwell time” to kill germs. If you dry the surface right away, you’re removing the product before it works.
Always check the label for the right dwell time. Not following these instructions can lower your disinfectant effectiveness. This leaves germs you wanted to get rid of.
Mixing Different Cleaning Chemicals
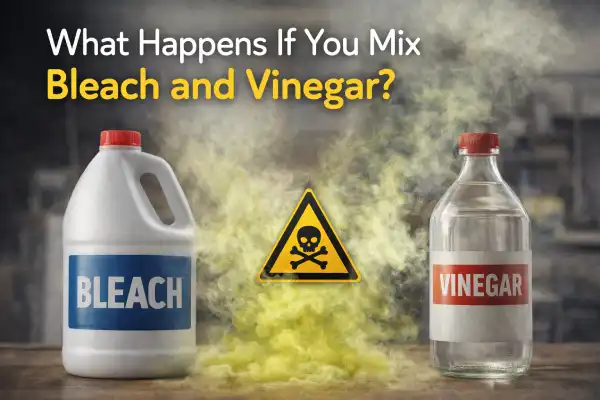
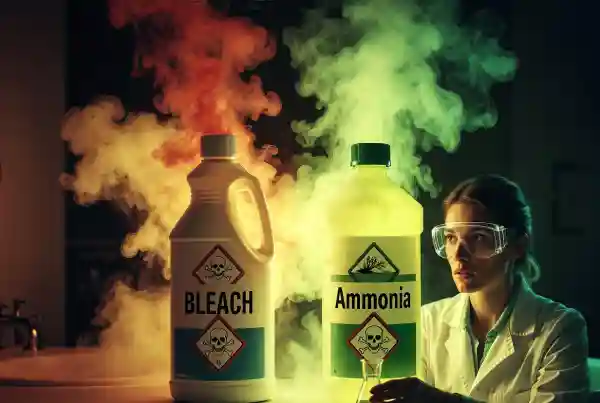
It might seem smart to mix products for better cleaning. But, it’s risky. Mixing bleach and ammonia or vinegar can release harmful fumes. Never mix different cleaners unless the labels say it’s okay.
Learn why some disinfectant wipes are toxic when used wrong. Use one product at a time to keep your air clean and your family safe.
Over-Applying Sprays on Porous Surfaces
Soaking porous materials like wood or stone with too much liquid is a mistake. Too much disinfectant spray can damage surfaces, like warping or discoloring them. It can also lead to mold in cracks.
To protect your home, follow these tips:
- Spray the product onto a microfiber cloth first.
- Use just enough to keep the area damp for the right time.
- Wipe away any extra liquid to avoid streaks and damage.
By avoiding these mistakes, you can use your disinfectant effectiveness better. This keeps your home surfaces in great shape. A little extra care makes a big difference in a healthy home.
Surface Disinfection in High-Traffic Areas
Keeping your home healthy starts with a smart strategy for managing the surfaces everyone touches daily. High-traffic zones act as magnets for germs. This makes them the most critical areas for consistent surface disinfection. By focusing your efforts on these busy spots, you can significantly lower the risk of spreading infections throughout your living space.
Managing Door Handles and Light Switches
Door handles and light switches are touched dozens of times each day by every member of the household. Because these items are handled so frequently, they require a consistent cleaning schedule to remain hygienic. Use a disinfectant wipe or a cloth dampened with an approved solution to ensure these high-contact points stay germ-free.
When cleaning these areas, always check the manufacturer’s instructions to maintain proper surface safety. Avoid spraying liquid directly onto light switches, as moisture can seep into the electrical components. Instead, apply the product to your cloth first and then wipe the surface thoroughly.
Cleaning Shared Electronic Devices
Shared electronics like remote controls, tablets, and gaming controllers are often overlooked during routine cleaning. These devices harbor bacteria and require careful handling to avoid internal damage. Always power down your electronics before you begin the sanitization process.
Use a microfiber cloth lightly moistened with a disinfectant that is safe for electronics. Never submerge these items in liquid or use harsh chemicals that could strip protective coatings. Gentle, deliberate wipes are the best way to keep your tech clean without compromising its functionality.
Balancing Sanitization and Surface Integrity
Achieving a clean home is about finding the right balance between effective germ removal and protecting your belongings. Over-applying chemicals can lead to discoloration or material degradation over time. Always prioritize surface safety by choosing products that are compatible with the specific materials in your home.
If you are unsure about a product, test it on a small, inconspicuous area first. This simple step ensures that your surface disinfection routine remains effective without causing unintended wear. By being mindful of the materials you clean, you protect both your family’s health and the longevity of your home’s surfaces.
Natural Alternatives and Their Rinsing Requirements
Looking into natural cleaners shows a big difference between just cleaning surfaces and really killing germs. Many people like using natural cleaning products to keep their homes clean. But, it’s key to know these products work differently than strong chemicals. This knowledge helps keep your home safe and healthy for your family.
Vinegar and Hydrogen Peroxide Solutions
Household items like white vinegar and hydrogen peroxide are often used in DIY cleaning products. Vinegar is great for removing mineral deposits and light dirt from surfaces. Hydrogen peroxide can make surfaces look brighter and break down organic stuff.
But, you must be careful when using these. Never mix vinegar and hydrogen peroxide together. This mix can be very harmful and hurt your skin, eyes, and breathing. Always use them separately and rinse well with water to get rid of any leftover.
Limitations of Natural Disinfectants
Many think natural solutions can protect as well as EPA-registered disinfectants. But, these natural items are not as strong against tough viruses or bacteria. Using only them might not keep your home safe from harmful germs that need strong cleaning products to kill.
Always check the label of any product you use. If you want to kill germs, a registered disinfectant is safer and more effective. Natural cleaners are great for everyday cleaning, but not for when you need to sanitize against dangerous germs.
The Science of Surface Cleaning Versus Disinfection
To have a truly clean home, you need to know the difference between cleaning and disinfecting. Many think they’re the same, but they’re not. Learn more about these differences to keep your home germ-free. Check out the difference between cleaning, sanitizing, and disinfecting to protect your space.
Removing Soil Before Applying Disinfectants
Surface cleaning means removing dirt, dust, and other stuff from surfaces. When you clean a counter, you’re getting rid of the dirt that hides bacteria. If you don’t clean first, your disinfectants won’t work well.
“Cleanliness is the first step toward health, but disinfection is the final barrier against invisible threats.”
Why Cleaning Is the Essential First Step
Cleaning is key because it affects how well disinfectants work. If you spray disinfectant on a dirty surface, it might not kill germs. This is because the dirt can react with the disinfectant, making it less effective.
For a clean home, follow a two-step process. First, clean with soap and water to remove visible dirt. Then, use a disinfectant to kill any germs left behind.
| Process | Primary Goal | Key Benefit |
|---|---|---|
| Surface Cleaning | Remove physical debris | Prepares the area |
| Disinfecting | Kill pathogens | Ensures safety |
| Combined Method | Total hygiene | Maximum protection |
Learning this routine helps keep your home healthy. Remember, surface cleaning is the first step. Your hard work in cleaning makes disinfectant effectiveness possible.
Protecting Your Family from Chemical Exposure
Keeping your home safe from chemicals is crucial for a healthy living space. It’s important to fight off germs but also avoid using harmful cleaners. Taking simple precautions can greatly improve your home’s air quality and safety.
Ventilation Strategies During Cleaning
Improving airflow is key to avoiding harsh chemical fumes. When you spray a disinfectant spray, the particles can stay in the air. This might cause breathing problems. You might ask, is disinfectant spray toxic to breathe? Good ventilation greatly lowers the risk of inhaling these fumes.
Here are some easy ways to keep your air clean:
- Open windows and doors in the room you are cleaning.
- Use exhaust fans in kitchens and bathrooms to remove vapors.
- If it’s bad outside, use a portable fan to move air away from you.
- Don’t over-spray surfaces, as this creates more mist than needed.
Proper Storage of Disinfectant Products
Keeping your home safe doesn’t stop after cleaning. Properly storing your disinfectant spray is vital to avoid accidents, like kids or pets getting into it. Always keep these products in their original containers for safety instructions.
Here’s how to keep your home secure:
- Store all cleaning agents in a high cabinet or a locked utility closet.
- Never leave bottles unattended on low counters or floors.
- Ensure caps are tightly sealed to prevent leaks and spills.
- Keep products away from food storage areas to avoid contamination.
By following these habits, you make your home a safer environment for everyone. Being consistent is the secret to long-term safety. When you handle cleaning supplies with care, you show you value your family’s health as much as a clean home.
Environmental Considerations for Disinfectant Disposal
It’s important to think about what happens to your cleaning products when they’re no longer needed. We often focus on keeping our homes clean, but we should also think about how these chemicals affect the environment. By making a few simple changes, you can help keep your home and the planet healthy.
Preventing Chemical Runoff into Drains
Many people think it’s okay to pour leftover cleaning solutions down the drain. But this can harm our water systems and the creatures that live in them. It’s key to remember that surface disinfection products are made to kill germs, which can mess up water treatment plants.
“The cumulative effect of household chemical disposal is a significant factor in urban water pollution, requiring a shift toward more sustainable practices.”
To avoid these problems, always check the label for how to dispose of the product. You can learn more about these issues by looking at guides like this environmental cleaning guide. Not pouring chemicals down the drain is a big step in protecting our water.
Eco-Friendly Disposal Methods
Living greener doesn’t have to be hard. Here are some easy tips for disposing of your cleaning products in a way that’s good for the planet:
- Read the label: Look for instructions on what to do with empty containers and leftover liquids.
- Use it up: Buy only what you need to avoid having too much to throw away.
- Check local regulations: Some places have special days for collecting hazardous waste.
- Choose safer alternatives: Pick products that are better for the environment, like those mentioned in guides on safe sanitizer usage.
By following these tips, you help make the world a better place. Good surface disinfection doesn’t have to harm our planet. Making small changes in how we handle our cleaning supplies can make a big difference for our communities.
Conclusion
Getting your living space really clean is more than just spraying a bottle. You now know how to remove germs safely for your family.
Regular cleaning of surfaces is key to a healthier home. Start by removing dirt and then use disinfectants. This way, you get the most out of your cleaning products.
Always follow the label instructions from brands like Clorox or Lysol. These directions help keep your family safe from harmful chemicals. Make sure to rinse well, too, for items that come into contact with food or skin.
Your dedication to these cleaning habits keeps your home safe and working well. Share what you’ve learned with friends or neighbors. Making small changes in how you handle cleaning products can make a big difference for everyone at home.
FAQ
Do You Need to Rinse Surfaces After Using Disinfectant Spray on my dining table?
Yes, rinse surfaces with water if you’ll eat off them or if food will touch. This removes disinfectant residue. For general cleaning, letting it air dry is usually okay, according to brands like Lysol.
What exactly is dwell time and why does it matter?
Dwell time is how long a disinfectant spray must stay wet to kill germs. If you wipe it off too soon, it won’t work. Always follow the label’s dwell time instructions.
Can I use Clorox wipes on my child’s toys without rinsing?
No, always rinse toys with water after using disinfectants. This ensures your child doesn’t ingest harmful chemicals.
Is it safe to mix vinegar with my store-bought disinfectant spray?
No, never mix different cleaning products. Vinegar and bleach can create toxic gases. Always use one product at a time.
How can I tell if a product is effective against viruses and protozoa?
Look for an EPA-registered number on the label. This means the product has been tested and proven effective against specific pathogens.
Will leaving disinfectant on my granite countertops damage them?
Yes, some disinfectants can damage natural stone. Always rinse surfaces after disinfecting to protect them.
Should I use a towel to dry the surface after rinsing?
The best way to dry surfaces is to let them air dry. Using a towel can reintroduce germs. If you must dry it, use a fresh paper towel.
What should I do if I accidentally get disinfectant residue on my skin?
If you get disinfectant on your skin, wash it off with soap and water. Always check the label for first-aid instructions and warning labels.